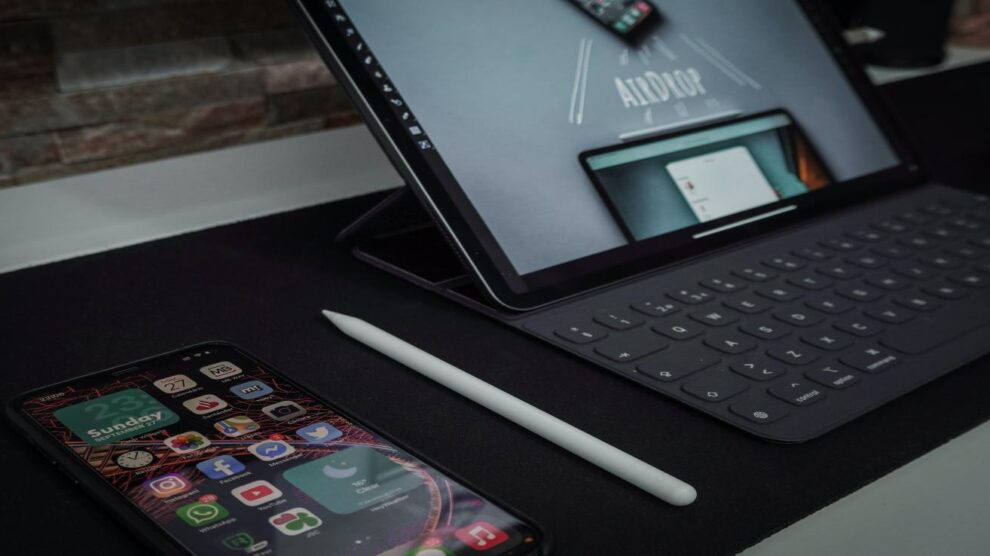
It is now easier than ever to share files and photos between devices. AirDrop allows you to send files from an iPhone to a Mac or iPad with a single tap, as long as they are within range. Now, what is this range? AirDrop transmits files using a combination of Bluetooth and Wi-Fi, so your iPhone, iPad, or Mac must be within 30 feet of each other.
How to Turn On AirDrop on iPhone and iPad?
Turning on AirDrop on your iPhone or iPad is incredibly easy. Follow the below steps to accomplish your objective in a go:
- Go to your iPhone settings
- Tap “General.”
- Choose “AirDrop” on the general page.
- Now, choose who can see you by tapping “Contacts Only” or “Everyone.”
You’re done! Limiting AirDrop to your contacts is a safety approach, but selecting “everyone” is convenient if you frequently receive files from different individuals.
How Can You Use AirDrop?
Similar to Bluetooth, iPhone users use AirDrop to share and receive files with other nearby Apple devices.
Before you begin:
- Check that the person to whom you’re sending is nearby and within Bluetooth and Wi-Fi range.
- Check that you and the person you are sending to have turned on Wi-Fi and Bluetooth. Turn off Personal Hotspot if either of you has it enabled.
- Check to see if the person you’re sending to has AirDrop set to receive only from contacts. If they do, and you’re in their Contacts, they must have your Apple ID’s email ID or mobile number in their contact card for AirDrop to work.
- If you are not in their Contacts, request that they change their AirDrop receiving setting to “Everyone” to receive the file.
How to use AirDrop (On your iPhone11 and later)
- To share an app, open it and then hit Share or the Share icon. You can swipe left or right to select several photographs when sharing a photo from the Photos app.
- Select the AirDrop option.
- If the person with whom you wish to share an iPhone 11 or 12 model also owns an iPhone, aim your iPhone in the direction of the other iPhone.
- At the top of the screen, tap the user’s profile image. Alternatively, you can utilize AirDrop to transfer files between your own Apple devices. If the AirDrop button has a red numbered badge, there are several devices nearby that you can share with. Tap the AirDrop button, followed by the user with whom you wish to share. Learn what to do if the AirDrop user or your other device is not visible.
If the person you’re exchanging material with is a contact, you’ll see an image beside their name. However, if they are not in your contacts, you will only see their name and no image. For more information regarding this aspect, connect with experts offering global assignment helpservices. With their suggestions, things will get easier for you.
On your iPhone XS or earlier and iPad
- Open an app, then select Share or the Share button from the menu bar. When you share a photo from the Photos app, you can choose multiple photos by swiping left or right on the screen.
- To use AirDrop, press the AirDrop button.
- Select the AirDrop user with whom you want to share the file. Alternatively, you can utilize AirDrop to transfer files between your own Apple devices.
- Seeing a red numbered badge on the AirDrop button indicates that there are several devices nearby with which you can share your files. First, tap the AirDrop button, then tap the person’s name to whom you wish to send the file.
Whether or not the person with whom you’re sharing material is already in your Contacts, you’ll see a picture next to their name. If they are not in your Contacts, you will only see their name and not an image for them.
How to Accept AirDrop?
When someone uses AirDrop to share anything with you, you will receive an alert with a preview of the item. You have the option of selecting Accept or Decline.
If you accept the AirDrop, the message will be delivered within the same app from which it was sent. For example, images are displayed in the Photos app and webpages are opened on the Safari web browser. In addition, app links open in the App Store, allowing you to download or purchase the app directly from the link.
If you AirDrop something to yourself, such as a photo from your iPhone to your Mac, you won’t be presented with an Accept or Decline button; instead, the item will be delivered to your device immediately. Ensure that both devices are signed in with the same Apple ID on both computers.
How to Adjust AirDrop Settings?
To control who has access to your device and can send you content using AirDrop, follow these steps:
- Select General from the Settings menu.
- Tap AirDrop, then select an option from the drop-down menu.
The control center also gives you the scope to set your AirDrop option.
Troubleshooting
Like any technology, AirDrop may malfunction at times. If you face such a situation, you need to check the following aspects:
- Is your Mac/iPhone/iPad compatible with AirDrop? It must run Mac OS X Yosemite or a later version.
- Ascertain that both your iPad and iPhone have Bluetooth and Wi-Fi.
- It’s likely that the devices are too close, particularly if the Mac is not visible in the iPhone’s AirDrop list. So close the distance between the two devices.
- Ensure that the iPhone is not using a personal hotspot to connect to the internet. Open Settings and ascertain that Personal Hotspot is disabled.
Wrapping Up
Now that you have understood the intricacies associated with using AirDrop on iPhone, it is expected that you can easily implement the above steps in real-life circumstances.


