Introduction
A cron job is a scheduled task that runs automatically at specified intervals on a server. In cPanel, cron jobs allow users to automate repetitive tasks like running scripts, performing backups, or sending emails without manual intervention. With cPanel’s intuitive interface, setting up a cron job is straightforward: users can specify the exact timing using a simple syntax (minutes, hours, days, etc.) and enter the command or script they want to run. This automation is particularly useful for maintaining regular system tasks, ensuring they are performed consistently and efficiently.
This article will guide you through deploying Vultr’s cPanel Marketplace Application and creating and running cron jobs with cPanel’s advanced Cron Job feature tool.
Deploying Vultr Optimized Cloud Instance
- Sign up and log in to the Vultr Customer Portal.
- Navigate to the Products page.
- From the side menu, select Compute.
- Click the Deploy Server button in the center.
- Choose Optimized Cloud Compute as the server type.
- Choose a server Location.
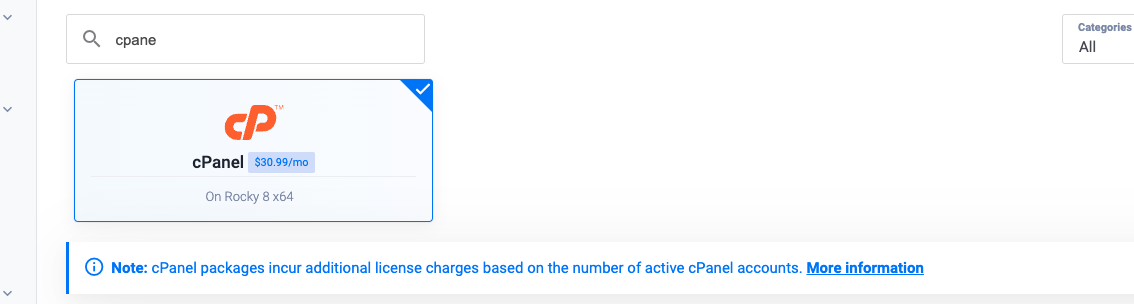
- Choose cPanel as the Marketplace Application.
- Choose a suitable plan.
- Choose any Additional Features if required.
- Click Deploy Now.
Login to the cPanel Dashboard
- Open a web browser and visit the following URL. Replace example.com with your cPanel server’s public IP address or domain name
$ https://example.com:2087/
- Log in to the WHM service using your cPanel server’s root user account credentials.
- Read and agree to the cPanel and WHM terms and conditions. These include the end-user license agreement, privacy policy, pricing terms, and technical support agreement.
- Enter your email address in the next screen and configure the nameservers. Then, click Finish. The cPanel server sends notifications to this email address. The nameservers resolve domain names to IP addresses.
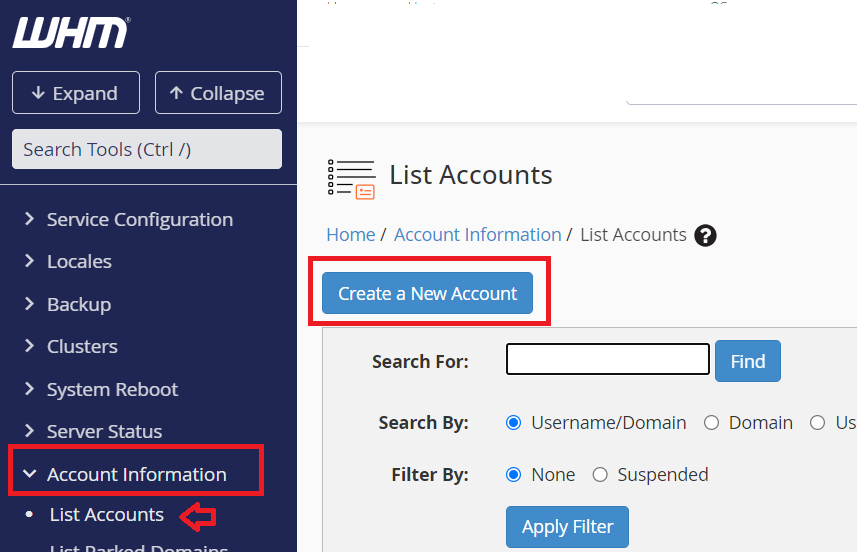
- Navigate to Account Information, choose List Accounts, and click Create a New Account.
- Enter the account details including the primary domain name that a customer intends to use to administer their account and click Create.
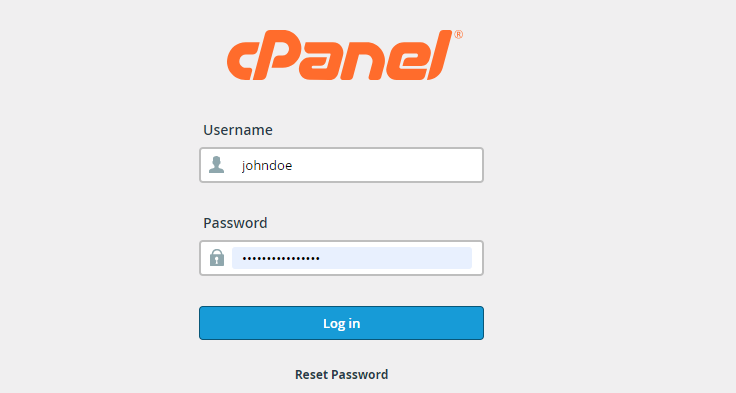
- Visit the following URL. Replace example.com with the cPanel’s primary domain name or server’s public IP address.
- Enter the cPanel login credentials.
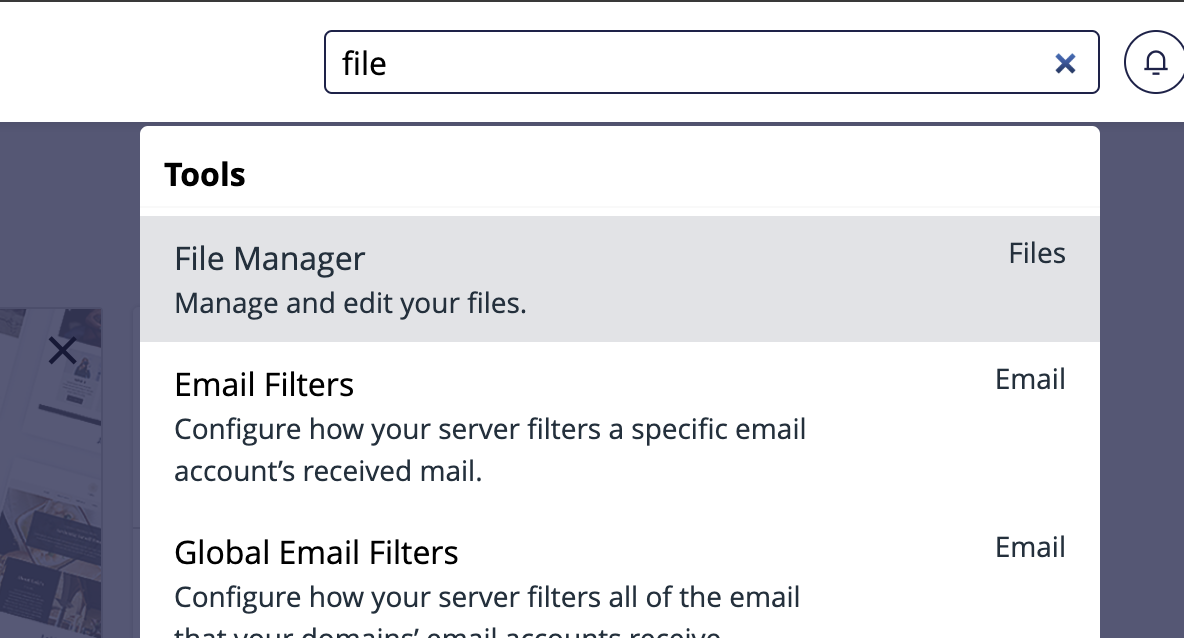
- Search File Manager in Tools.
- Navigate to public_html directory.
- Click Upload to upload your cron job file.
This is a sample code, which can be used to run a simple cron job.
<?php
$current_time = date('H:i:s');
$report = "Current time: " . $current_time . "\n";
file_put_contents('/home/your_username/current_time.txt', $report);
echo "Current time updated.";
?>
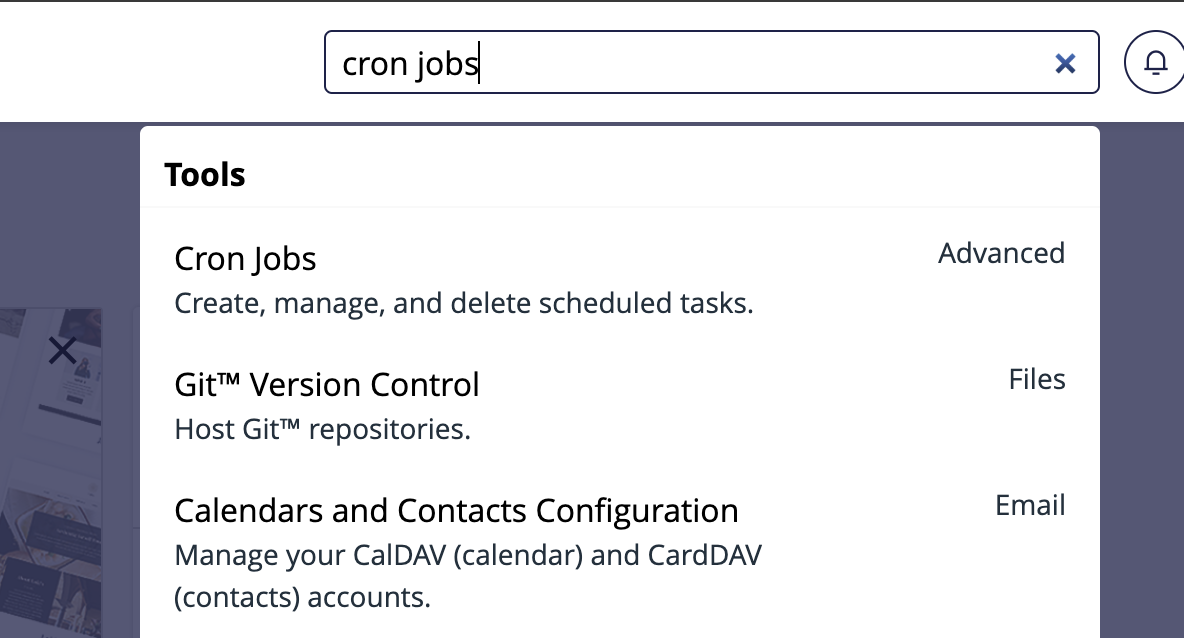
- After uploading the file, navigate to cPanel home and search for Cron Jobs in Tools.
- Select any of the Common Settings.
- Scroll down to give the command.
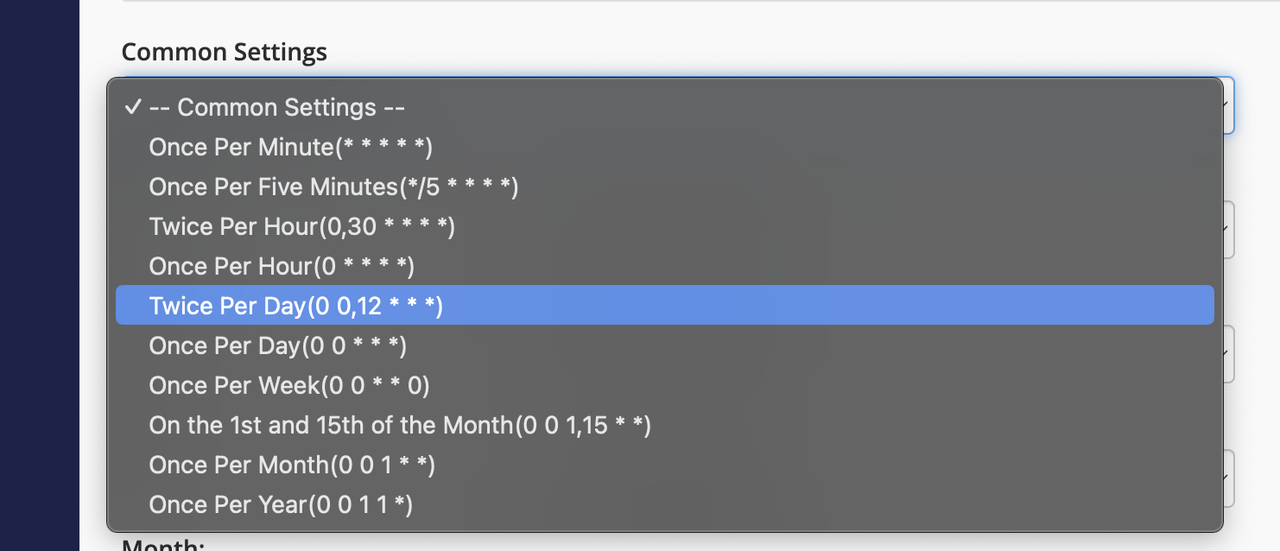
/usr/local/bin/php
/home/your_username/public_html/path/to/cron/script
- Click Add New Cron Job.
- You will be able to see the cron job added and if you have used the sample cron job provided above then you will be able to see a file generated at /home/your_username/public_html directory named current_time.txt.
Do More With cPanel
- Use cPanel’s Transfer Tool to Migrate Accounts.
- Migrate Your WordPress from cPanel or Plesk to Vultr.
- Migrate Your Shared cPanel Hosting to a Vultr Cloud Server.
Conclusion
By following the steps in this article, you were able to deploy Vultr’s cPanel Marketplace Application and leverage the Cron Job feature of cPanel to run an automated cron job.
This is a sponsored article by Vultr. Vultr is the world’s largest privately-held cloud computing platform. A favorite with developers, Vultr has served over 1.5 million customers across 185 countries with flexible, scalable, global Cloud Compute, Cloud GPU, Bare Metal, and Cloud Storage solutions. Learn more about Vultr